Creating App Store screenshots is one of those tasks that every app developer dreads. You know they matter. You know they directly impact downloads. But the process of designing them in Figma or Photoshop feels like it takes forever.
It doesn't have to. With the right tool, you can go from raw screenshots to a polished, upload-ready set in under 5 minutes. This guide walks you through the entire process using Lomio, a desktop app built specifically for App Store and Play Store screenshots.
What you need before you start
Before you open Lomio, make sure you have these things ready:
- Your app's screenshots. Take them on a real device, in the iOS Simulator, or from Xcode previews. PNG or JPG format works.
- Your headline text. Write 5 to 8 short headlines that describe your app's key features. Keep each one under 7 words.
- Lomio installed on your Mac. Download it from lomio.io.
That's it. No Figma account, no Photoshop license, no design experience needed.
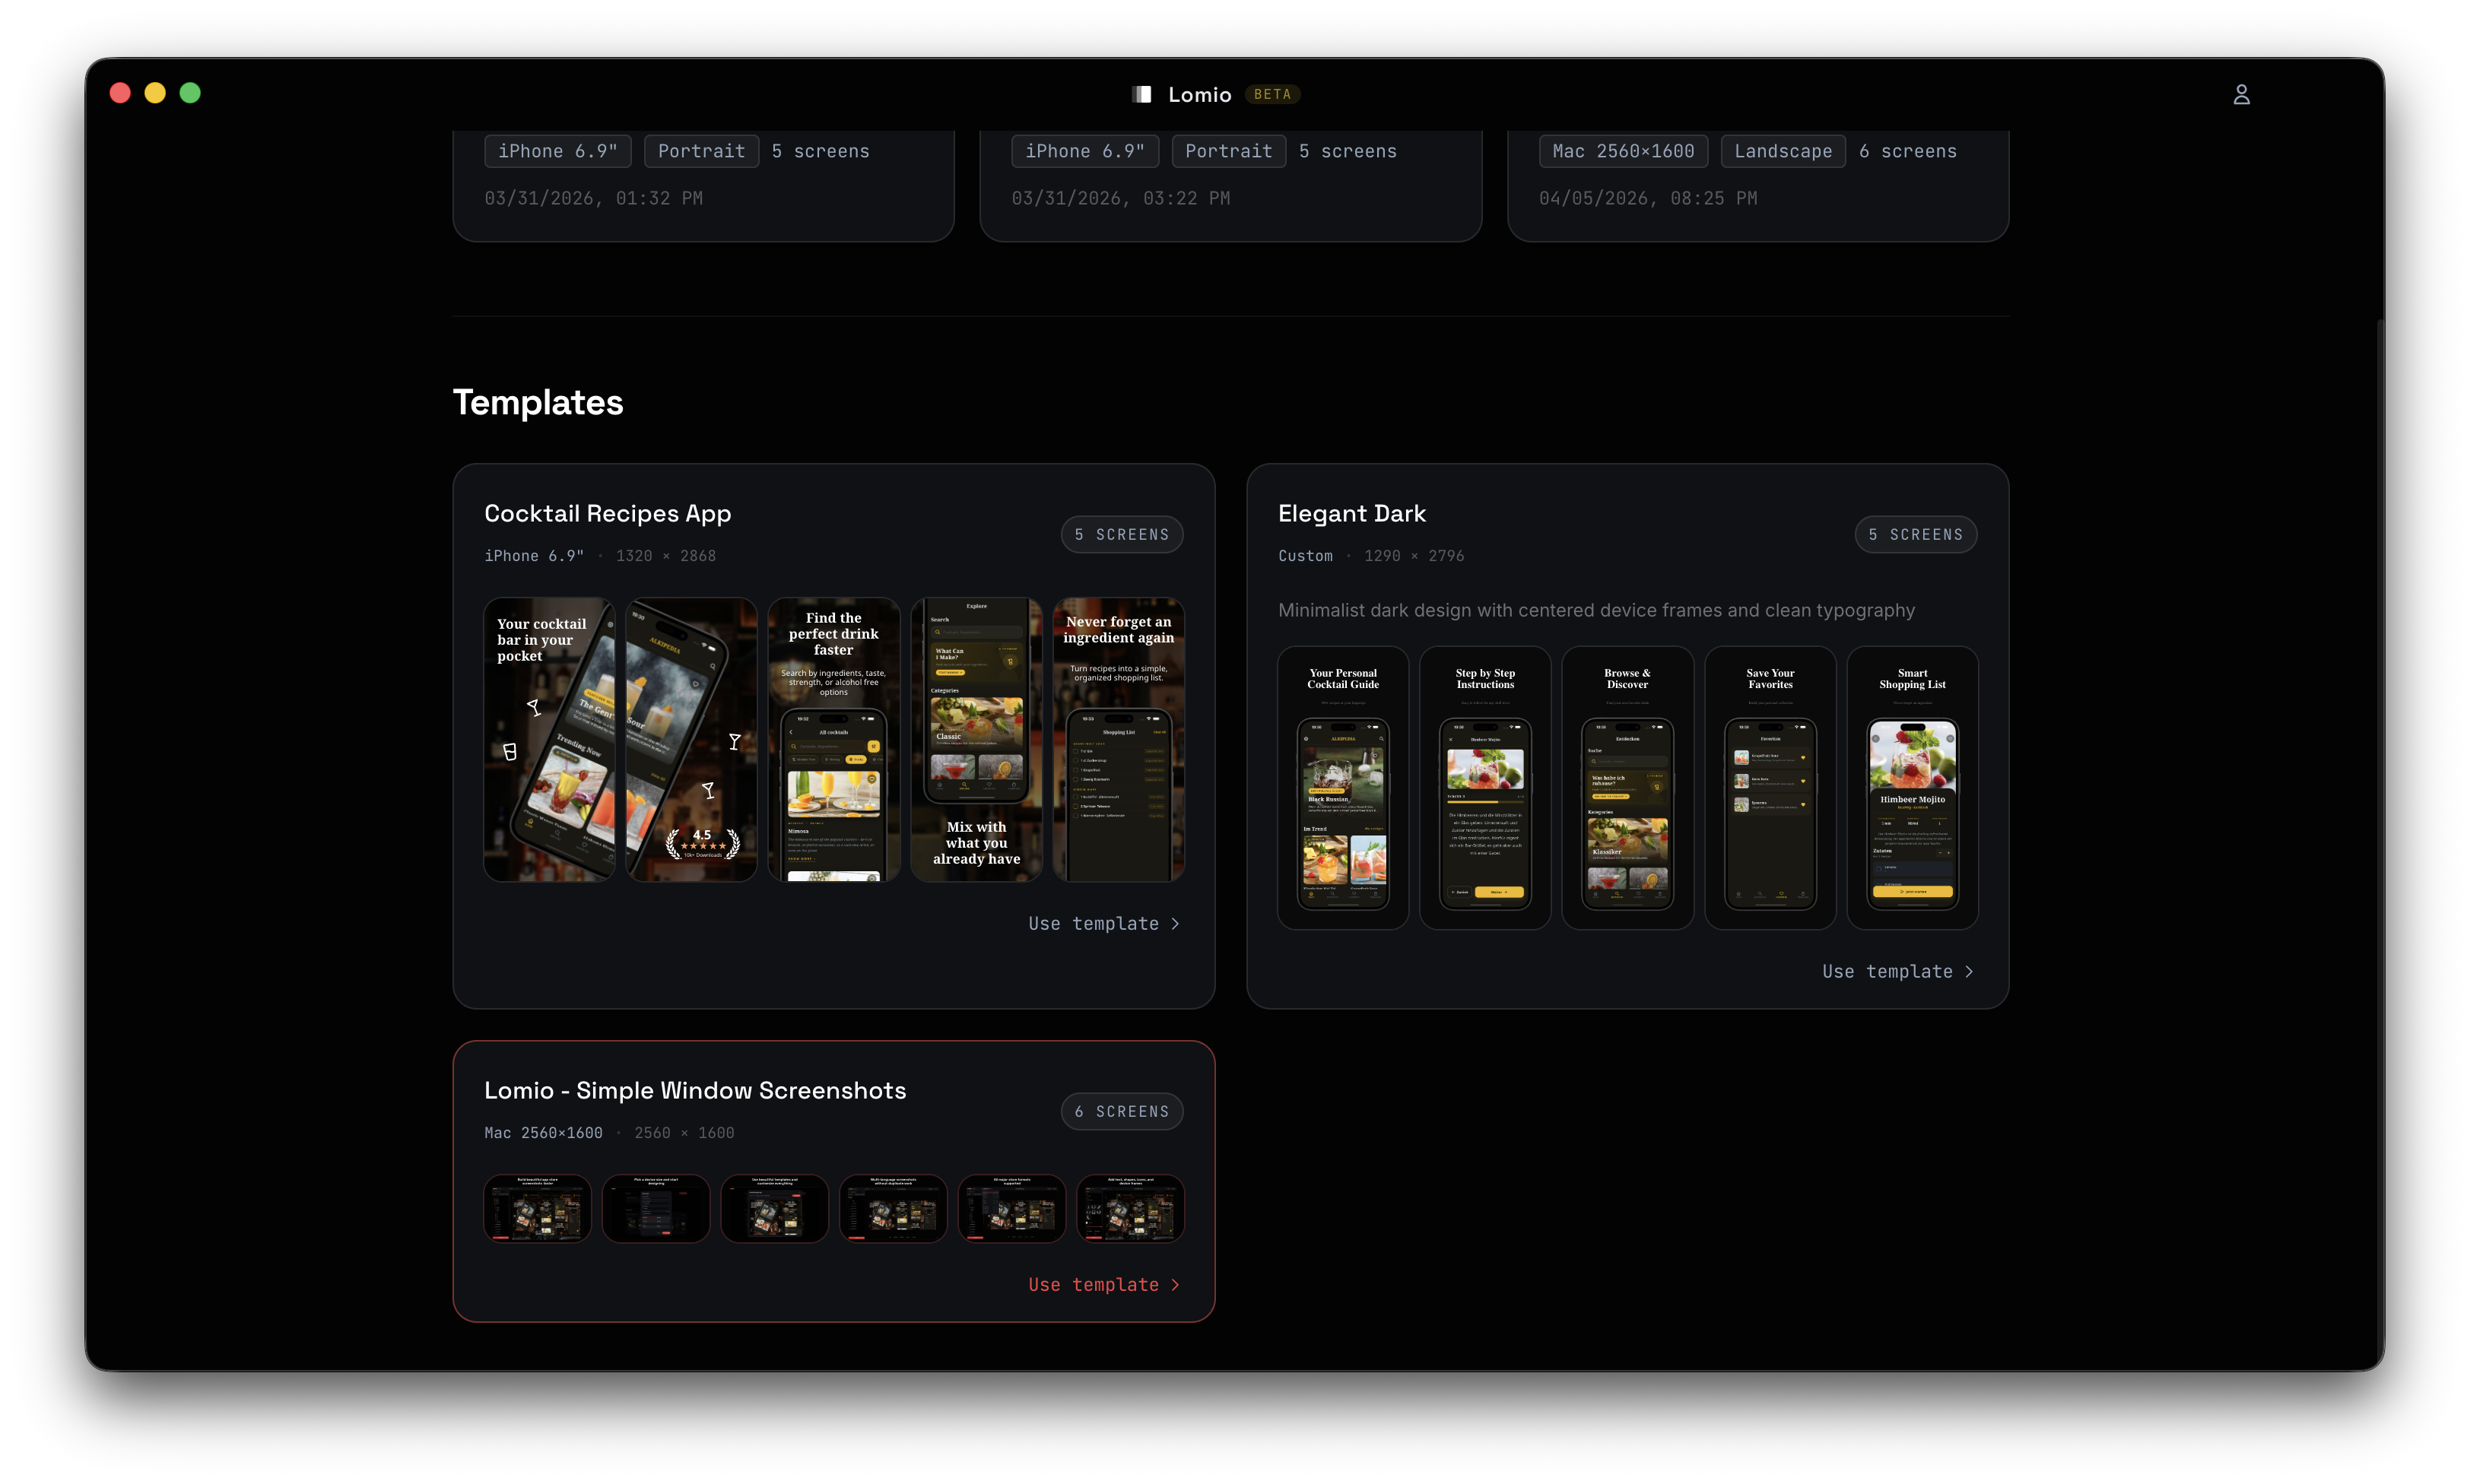
Step 1: Choose a template
Open Lomio and create a new project. You'll see a template library with professionally designed layouts. Each template is already sized to App Store and Play Store specifications, so you don't have to worry about pixel dimensions.
Pick a template that matches your app's style. If your app has a dark UI, choose a dark template. If your app is colorful and playful, pick something that matches that energy.
You can also start from a blank canvas if you want full control. Lomio supports all standard App Store screenshot sizes:
- iPhone 6.9" (1320 x 2868)
- iPhone 6.5" (1242 x 2688)
- iPhone 6.1" (1179 x 2556)
- iPhone 5.5" (1242 x 2208)
- iPad Pro 13" (2064 x 2752)
- iPad Pro 11" (1668 x 2388)
Plus all Google Play sizes for Android, Chromebook, Wear OS, and more.
Step 2: Drop in your screenshots
With your template loaded, drag and drop your app screenshots into the device frames. Lomio comes with 20+ official Apple device bezels including:
- iPhone 17 Pro Max, iPhone 17 Pro, iPhone 17
- iPhone 16 Pro Max, iPhone 16 Pro, iPhone 16 Plus, iPhone 16
- iPad Pro 13" (M4), iPad Pro 11" (M4)
Each device frame is available in multiple colors (Black, White, Natural Titanium, and more). Your screenshots automatically crop and mask to fit the device screen perfectly.
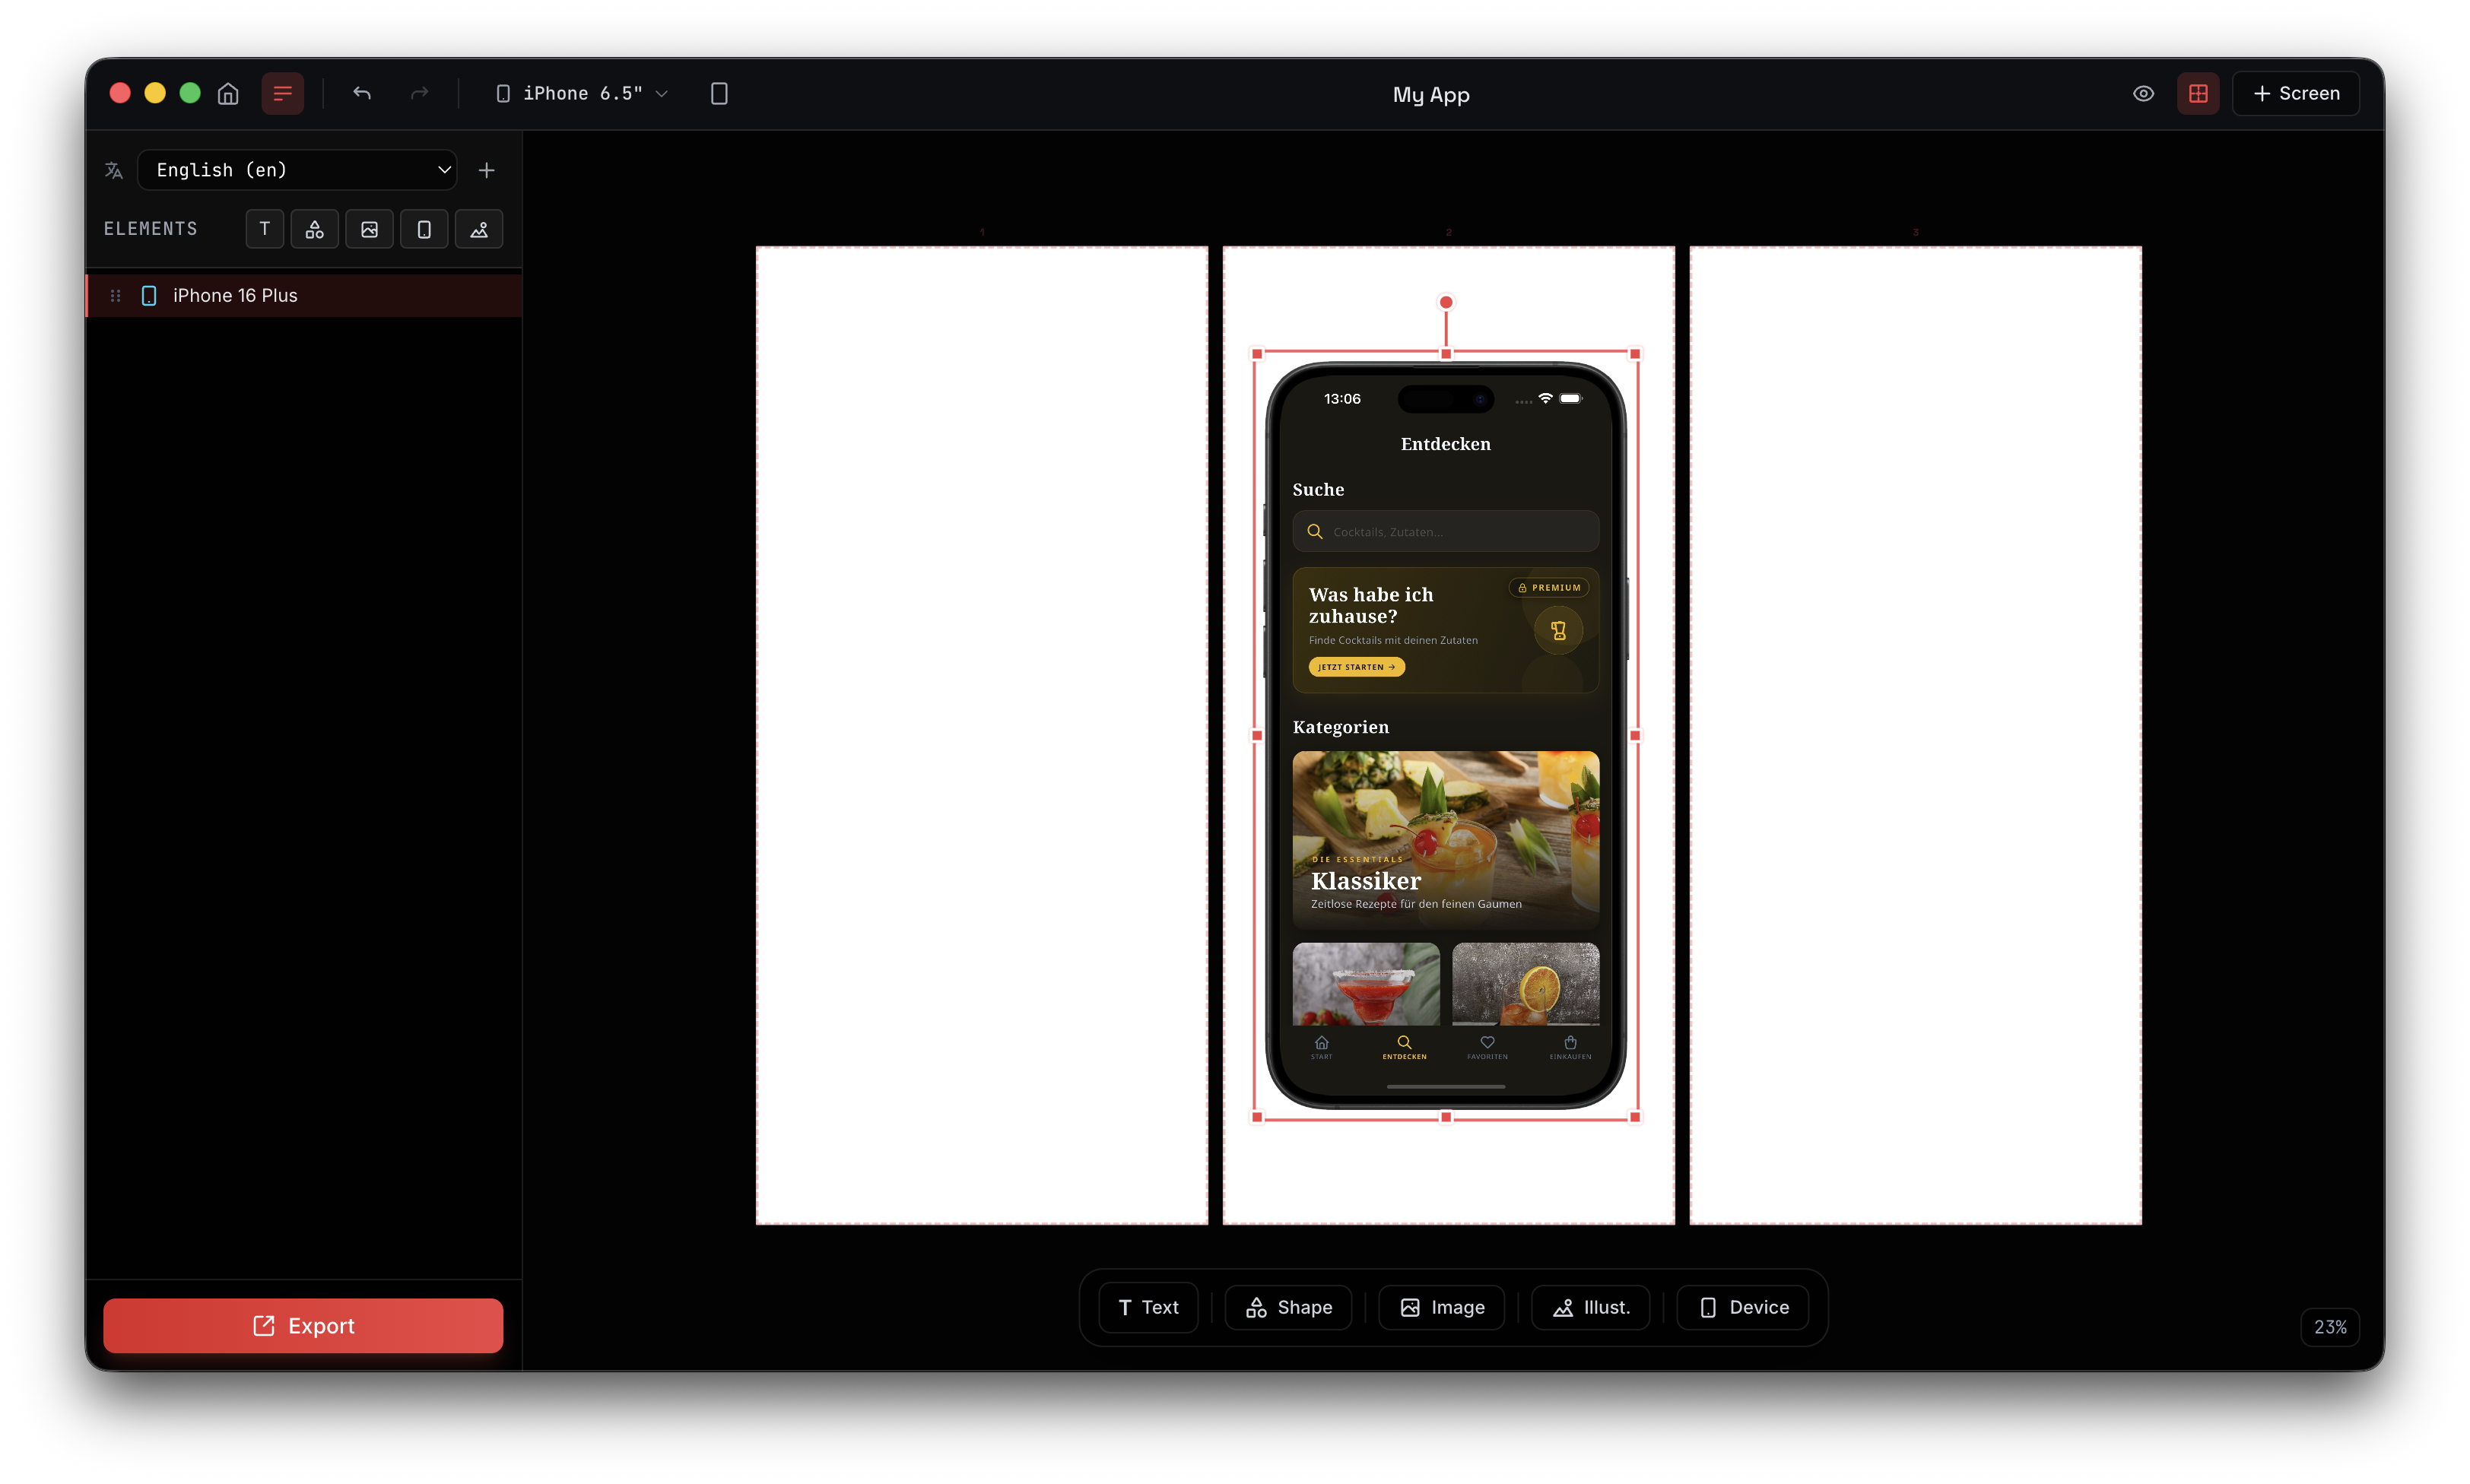
Step 3: Add text and headlines
Click on the text elements in your template and type your headlines. Lomio gives you full text styling control:
- Font selection from all installed system fonts plus defaults like Space Grotesk, Inter, and SF Pro
- Size, weight, and color with solid colors or gradients
- Text shadows for readability over complex backgrounds
- Alignment and line height controls
A good App Store screenshot headline follows this pattern: [Benefit] + [Feature]. For example:
- "Track Every Workout" (not "Exercise Logging Feature")
- "Find Recipes Fast" (not "Search Functionality")
- "Share in One Tap" (not "Social Media Integration")
Keep it benefit-driven and short. Users scan, they don't read.
Step 4: Customize the design
This is where Lomio's built-in asset library saves you serious time. You have access to:
- 1,400+ Lucide icons with full color customization
- 1,600+ unDraw illustrations in SVG format
- 3,000+ Simple Icons (brand icons for every major service)
- Pexels integration for millions of free stock photos, searchable directly in the editor
Add shapes with solid or gradient fills, adjust borders and shadows, change background colors. Everything is drag-and-drop with visual handles for resize and rotation.

Step 5: Set up multiple languages (optional)
If your app supports multiple languages, this is where Lomio really shines. Instead of duplicating your entire project for each language, you add translations directly:
- Open the language panel and add the languages you need (20+ supported, including German, Japanese, French, Spanish, Chinese, Korean, and more)
- For each text element, enter the translation for each language
- For device frame screenshots, assign language-specific screenshots
Now you can switch between languages with a single click. The entire layout updates instantly. No duplicating, no manual text replacement.
This feature alone can save hours compared to the traditional Figma workflow.
Step 6: Export everything
Click export. Lomio generates all screenshots at the exact resolution Apple and Google require. Choose your output directory and everything gets saved as high-quality images, ready to upload to App Store Connect or Google Play Console.
If you have multiple languages set up, Lomio exports a complete set for each language in one go.
Common mistakes to avoid
After helping thousands of developers create screenshots, here are the mistakes we see most often:
Using low-quality source screenshots
Always use screenshots at the full device resolution. Don't resize or compress them before importing into Lomio. The device frames need high-resolution source material to look sharp.
Too much text on screen
Each screenshot should communicate one idea. One headline, maybe one subtitle. If you need three paragraphs to explain what's on screen, you're showing too much.
Forgetting the first screenshot
The first screenshot is the most important because it appears in search results. Make sure it showcases your killer feature. Don't waste it on a generic welcome screen.
Ignoring localization
Apps with localized screenshots see significantly higher conversion rates in international markets. If your app supports other languages, localizing your screenshots is one of the highest-ROI things you can do.
Not updating screenshots after UI changes
When your app's UI changes, your screenshots should change too. Outdated screenshots erode trust when users open the app and see something different. With Lomio, updating is fast: just swap in new screenshots and re-export.
App Store screenshot specifications (2026)
For reference, here are the current required sizes:
| Device | Size (pixels) | Required |
|---|---|---|
| iPhone 6.9" | 1320 x 2868 | Yes |
| iPhone 6.5" | 1242 x 2688 | Yes |
| iPhone 5.5" | 1242 x 2208 | Optional |
| iPad Pro 13" | 2064 x 2752 | If universal app |
| iPad Pro 11" | 1668 x 2388 | If universal app |
Apple allows up to 10 screenshots per device size. Use at least 6 to tell a complete story about your app.
Frequently asked questions
How long does it really take to create a full screenshot set? For a single language with 6 to 8 screenshots, about 5 minutes once you've picked a template. Adding each additional language takes about 2 minutes for the translations.
Do I need design experience? No. The templates handle the layout and design. You just drop in screenshots and type your text.
Can I use Lomio for Google Play screenshots too? Yes. Lomio supports all Google Play screenshot sizes including phone (16:9 and 20:9), tablet, Chromebook, and Wear OS.
What file format are the exported screenshots? Screenshots are exported as high-resolution images at the exact pixel dimensions required by each store.
Does Lomio work offline? Yes. The entire app runs locally on your Mac. Only the Pexels stock photo search requires an internet connection.
Start creating your screenshots
Stop spending hours in Figma. Download Lomio and create your first professional App Store screenshot set in under 5 minutes.
If you want to learn more about what makes screenshots effective, check out our guide on 5 tips for screenshots that convert.